Learn to design a custom, professional logo for your Wix website using Canva. This guide covers templates, color matching, and favicon creation steps.
A logo is the first thing visitors notice about your brand. It builds trust, reinforces recognition, and separates your site from generic templates. Whether you are building an online store or a personal portfolio, a clean logo makes your site look established from day one.
This tutorial follows the exact workflow shown in the video—using Canva to design, color-match, and export a logo, then adding it to a Wix site along with a favicon.
Why Canva Is the Recommended Tool
Canva works well here for two reasons: it offers a large library of niche-specific logo templates, and its drag-and-drop editor requires no prior design experience. The video demonstrates that a finished, color-matched logo can be ready in roughly one to two minutes of editing—a detail stated explicitly in the tutorial.
One important note: transparent background export is a Canva Pro feature. The video is clear that you need the Pro plan specifically for this capability, because a transparent logo lets your website header color show through rather than adding an unwanted white or solid box. The affiliate link in the description activates a free Pro trial, which is what the tutorial uses.
If you stay on the free plan, you can still create a logo—just make sure your logo's background color exactly matches your website header color so it does not look out of place.
Step 1: Search for a Logo Template
Once you are inside Canva, type your niche directly into the search bar alongside the word "logo." The video uses "computer logo" as an example and briefly shows a "yoga logo" search to illustrate how the template library adapts to different industries. Both searches return dozens of professionally designed starting points.
- Open Canva and type something like "[your niche] logo" in the search bar.
- Browse the results and pick a template that fits your brand aesthetic.
- Click "Customize this template" to open the editor.
Step 2: Edit the Template in the Canva Editor
The Canva editor behaves similarly to Wix's drag-and-drop interface—you can click any element to select it, move it, resize it, or delete it. The video demonstrates the following edits on a computer-themed template:
- Reposition elements — move the icon and text to preferred positions.
- Resize text — make the name larger and a tagline smaller so both fit cleanly.
- Change text alignment — switching to left alignment creates a more structured look.
- Delete the background layer — removing the background shape prepares the design for a transparent export.
- Update the text content — replace placeholder text with your actual brand name and tagline.
These edits collectively take one to two minutes, as stated in the video.
Step 3: Match Your Website's Color Palette
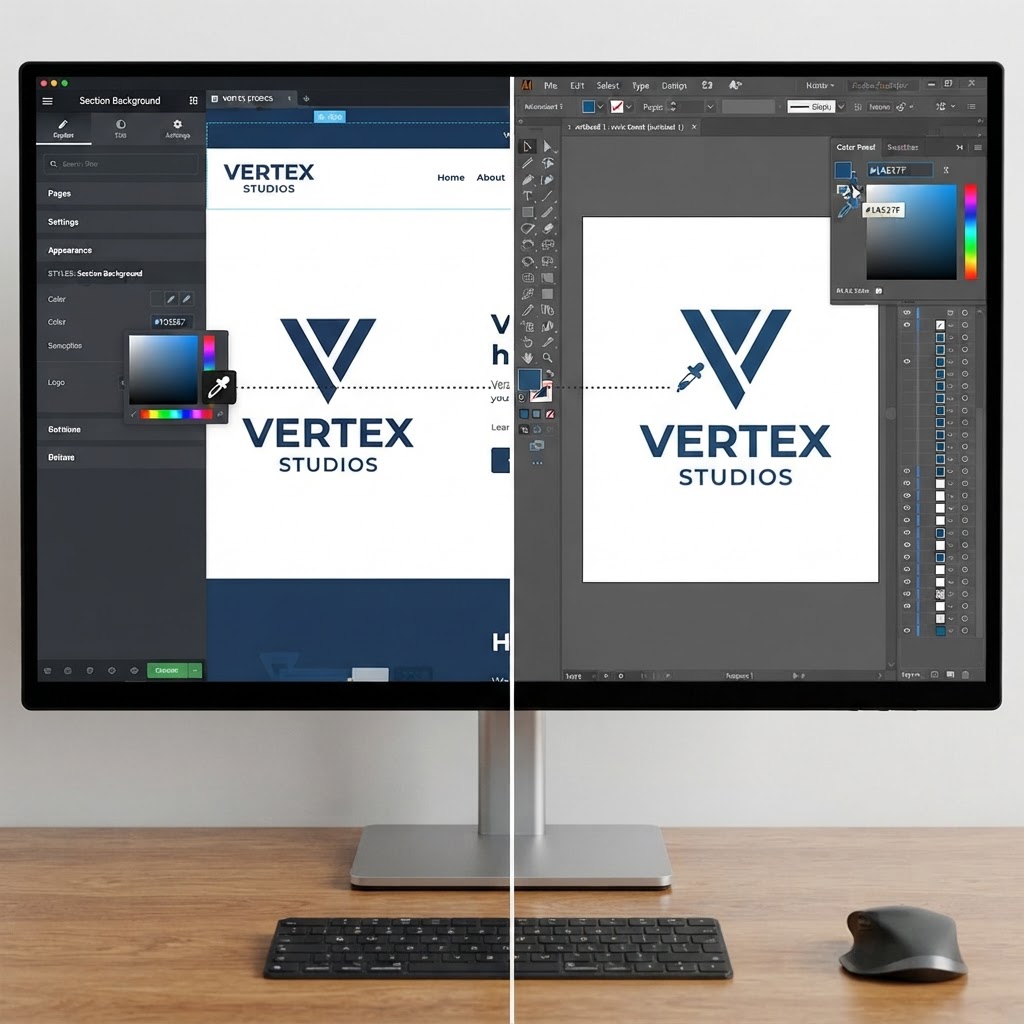
Color consistency between your logo and your website is one of the most impactful branding decisions you can make. The tutorial demonstrates a precise method:
- Open your Wix editor in a separate tab.
- Click on any text or design element that uses your brand color.
- Copy the hex color code shown in the color picker (for example, a specific yellow used across the site).
- Return to Canva, select all text elements you want to recolor, and click "Add a new color."
- Type a # followed by your hex code and confirm.
- Repeat for each icon element in the logo.
The result is a logo that uses the exact same color as your site's header, navigation, and accent elements—a detail that makes the design feel intentional rather than assembled.
Step 4: Create a Favicon Version
Before downloading, the video recommends preparing a favicon at the same time. A favicon is the small icon that appears in the browser tab—for example, Canva uses a blue circle with a "C," and personal sites often use a simplified logo mark or photo.
To create yours:
- Duplicate the current page within Canva.
- Delete all text elements from the duplicate, leaving only your icon or logo mark.
- Enlarge the icon to fill the canvas.
- Download this version separately—you will upload it as your favicon in the Wix settings later.
Having both files ready before you leave Canva saves you from returning to the tool after you have already moved to Wix.

Step 5: Download Your Logo
With your design finalized:
- Click Download in the top-right corner of Canva.
- Select PNG as the file format.
- If you are on Canva Pro, enable "Transparent background"—this is marked as a premium feature in the interface and will not be available on the free plan.
- Download the file to your computer.
Download the full logo and the favicon version separately so you have both files ready for upload.
Step 6: Add the Logo to Your Wix Website
With your PNG file downloaded, switch back to the Wix editor:
- Locate the header section of your site.
- Delete any existing text placeholder in the header.
- Click Add → Image → Upload Image and select your logo file.
- Once uploaded, use Wix's built-in crop tool to trim any extra white space around the logo before placing it.
- Resize and position the logo where you want it—typically the top-left corner.
- Adjust the navigation menu position if needed so the logo and menu sit cleanly side by side.
Wix's crop tool handles this entirely inside the editor, so you do not need to return to Canva for resizing adjustments.
If you are also building out your store, the same branding principles apply—see the step-by-step guide to creating a professional eCommerce website with Wix for how your logo integrates across product pages and checkout.
When Canva Is Not the Right Fit
Canva excels at producing clean, minimal logos from templates. However, the video acknowledges one clear limitation: highly complex or custom illustration-style logos—such as a detailed fisherman illustration shown briefly in the tutorial—require design skills that go beyond what template editing can deliver.
For those cases, the video mentions Fiverr as a platform to find professional logo designers. The tutorial notes that prices vary widely depending on the designer and complexity of the work. The recommendation in the video is to start with Canva, especially when launching a new site, and revisit a more custom logo once the website is established.
| Canva | Professional Freelancer (e.g., Fiverr) | |
|---|---|---|
| Turnaround | Minutes | Days to weeks |
| Cost | Low (free or Pro trial) | Varies by designer and complexity |
| Design control | Full control over template | Depends on designer communication |
| Complexity | Clean, template-based designs | Custom illustrations, complex branding |
| Best for | New sites, blogs, small businesses | Established brands needing unique assets |
For most people starting out, Canva covers the use case completely. The Pro trial, accessed through the affiliate link, provides the transparent background feature that makes the result look polished on any header color.
If you are exploring other website platforms alongside Wix, the step-by-step Jimdo website tutorial and the Webador website creation guide cover logo and branding setup on those builders as well.
Recommendation
For anyone building a Wix website who needs a logo quickly, Canva is the most practical starting point. The template library covers a wide range of industries, the editor is approachable without design experience, and the hex-code color matching ensures the logo feels consistent with the rest of your site. The one genuine requirement is the Pro plan if you want a transparent background—the free trial covers this for the duration of the project.
If your brand eventually requires something more custom, Fiverr is a reasonable next step. But for launch, a well-chosen Canva template edited with your brand colors and downloaded as a transparent PNG will serve most websites well.
Try Canva for free and have your logo ready in a matter of minutes.
● FAQ