Learn to install WordPress on Ionos using Managed Hosting. This guide covers plan selection, domain registration, one-click installation, and dashboard use.
Setting up a WordPress website used to require manual file uploads, database configuration, and a fair amount of technical knowledge. Managed WordPress Hosting has changed that completely. This guide walks you through every step of installing WordPress on Ionos, from choosing a plan to logging into your finished site.
Ready to follow along? Try Ionos Hosting and open the page alongside this tutorial.
Why Choose Managed WordPress Hosting on Ionos
When you land on the Ionos website, you will notice two main hosting categories: generic hosting and WordPress-specific options. Generic hosting works if you plan to use a different CMS such as Drupal or Joomla, but for WordPress, the Managed WordPress Hosting option is the better choice. It is optimised specifically for WordPress, and crucially, it automates the entire installation process so you never have to touch a server configuration file.
Ionos also bundles an AI-powered setup assistant into the Managed WordPress plans, which can help you choose a domain name or configure your site's initial design. You are not required to use it — manual setup works just as well — but the option is there if you want it.
Choosing the Right Plan
On the Managed WordPress Hosting page, Ionos currently offers three tiers:
| Plan | Starting Price | Websites | Email Addresses | Best For |
|---|---|---|---|---|
| Starter | €1/month (introductory) | 1 | 1 | Personal blogs and first sites |
| Grow | €5/month | 1 | 5 | Small businesses needing more email |
| Boost | Higher after year one | 1 | More | Traffic-heavy or performance-focused sites |
Pricing shown is based on what was visible during testing; check the Ionos page for current rates. The Starter plan is the most affordable after the first year and includes one website and one email address — enough for most beginners. The Grow plan costs more per month but adds five email addresses, which suits small businesses that need branded inboxes. Both plans allow you to sign up for a single month if you want to test the service before committing to an annual contract.
Registering a Domain Name
After selecting your plan and clicking Continue, you are prompted to choose a domain name. Ionos gives you two options:
- Search manually — Type in names you have in mind and check availability.
- Use the AI domain finder — Describe your project in a few words and the tool generates a list of available suggestions.
During the video walkthrough, the AI was given the prompt "I'm Julian doing website tutorials on YouTube" and returned several options. One suggestion — julianwebmagic.com — was selected as an example. If you already own a domain registered elsewhere, you can connect it instead of buying a new one through Ionos.
Once you have chosen your domain, add it to your cart, click Continue, and skip the upsells for cloud storage and extra email packages unless you genuinely need them. Complete checkout using PayPal, Visa, Mastercard, or American Express.
Installing WordPress: The Step-by-Step Process
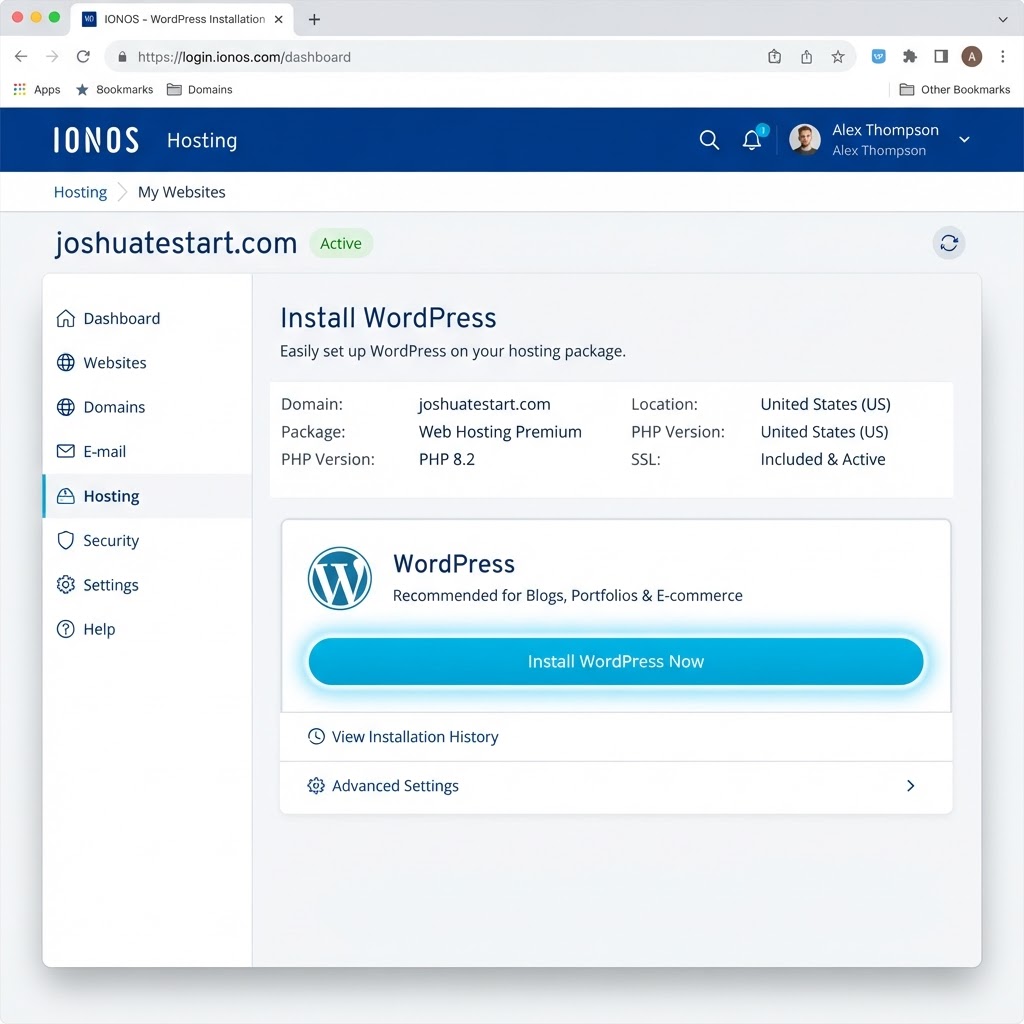
After the order is confirmed, the product setup begins automatically. It takes a few seconds. Once ready, follow these steps:
- Click Get Started on the order confirmation screen.
- Give your project a name (for example, Julian's Website).
- Click Start WordPress Installation.
- Wait up to one to two minutes while Ionos creates the database, configures the server environment, and installs WordPress automatically.
- Click Launch WordPress once the installation is complete.
This is the core advantage of managed hosting. There is no manual FTP upload, no database creation wizard, and no wp-config.php file to edit. The system handles everything in the background.

First Steps Inside WordPress
When you click Launch WordPress, Ionos asks whether you want to set up your site using AI or do it yourself. Choosing Do It Yourself takes you straight into the WordPress dashboard with full control over every setting.
Here is a quick overview of the main areas you will use first:
Pages
Navigate to Pages → Add New to create your essential pages: Home, About, Contact, and Privacy Policy. These form the structural backbone of any website.
Posts
WordPress was built as a blogging engine. The Posts section is where you write and publish articles, tutorials, or any regularly updated content.
Themes
By default, WordPress installs a basic theme that produces a plain-looking site. Go to Appearance → Themes → Add New to browse the full theme library. Popular options visible in the library include Astra, OceanWP, and Hello Elementor. The Hello Elementor theme is a common starting point because it is lightweight and designed to work seamlessly with the Elementor page builder.
Plugins
Plugins extend WordPress functionality. Go to Plugins → Add New Plugin and search for Elementor to install a visual drag-and-drop page builder. Ionos may pre-install a few plugins — review them and remove any you do not plan to use.
For a full walkthrough of building out your site after installation, see the complete guide to setting up a WordPress website in 2026.
Navigating the Ionos Control Panel
Your WordPress site and your Ionos account are two separate environments. Understanding both will save you time.
- WordPress dashboard — Accessed at
or via the Open WordPress button inside Ionos. This is where you build and manage your site's content.yourdomain.com/wp-login - Ionos control panel — Accessed at ionos.com → My Ionos. This is where you manage your subscription, invoices, domain and SSL settings, and professional email accounts.
If you are using a temporary dummy domain during setup, your live domain will replace it here once you have connected or verified it.
Comparing Ionos to Other Hosts
If you are deciding between providers, the installation process on Ionos is very similar in speed to other managed hosts. For a direct comparison, the step-by-step WordPress installation guide for Hostinger covers a comparable managed hosting workflow, which can help you evaluate the two side by side.
Recommendation and Next Steps
Installing WordPress on Ionos is genuinely straightforward. The Managed WordPress Hosting option removes every technical barrier that used to make hosting a challenge for beginners, and the one-to-two minute automated installation delivers a working WordPress site with no manual configuration required.
The Starter plan is a sensible starting point for personal sites and blogs. If you need more branded email addresses from day one, the Grow plan is worth the extra cost. Either way, you can begin with a monthly billing cycle to test the platform before committing to a year.
Once your site is live, the next step is building it out. The full WordPress website setup guide for 2026 covers themes, plugins, and page structure in detail.
Try Ionos Hosting to get started today.
● FAQ