Learn how to install the TikTok Pixel on Shopify without coding. This guide covers ad credits, official app setup, data sharing, and event verification.
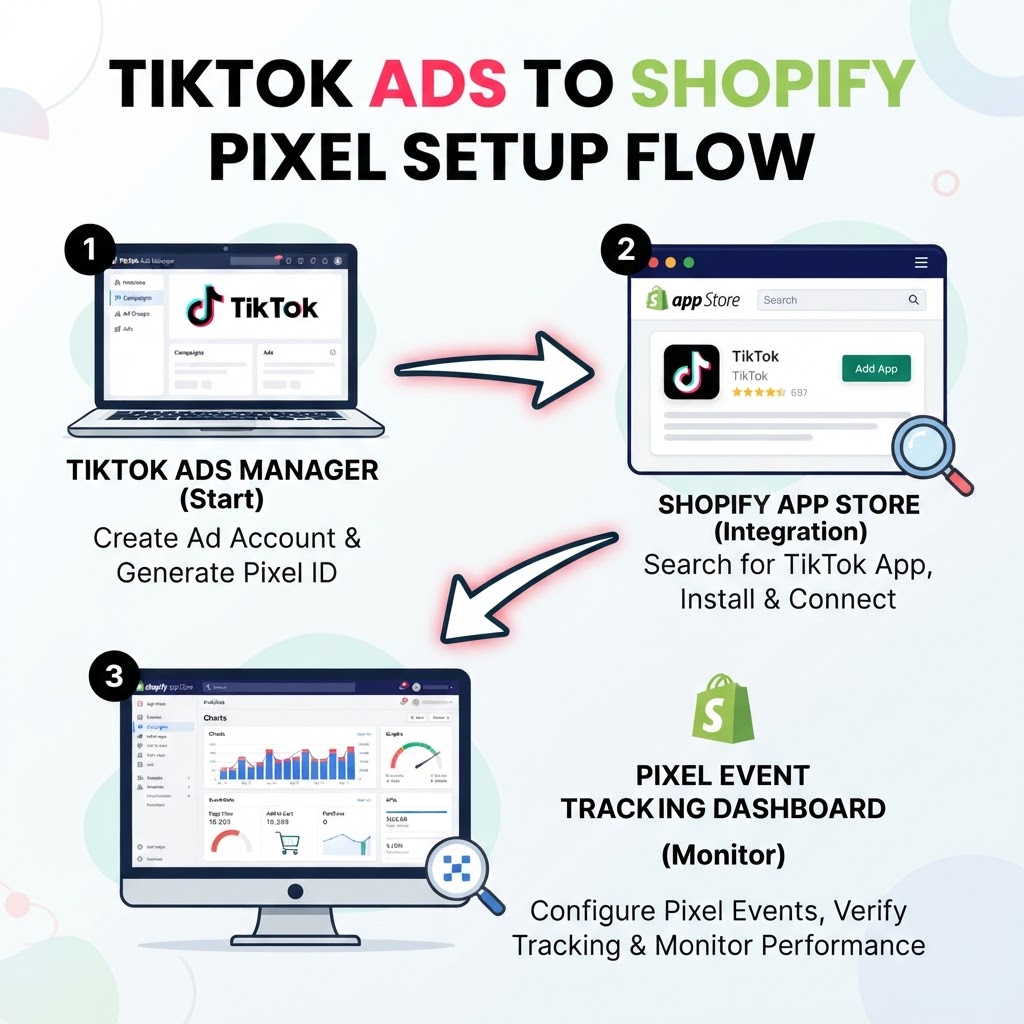
Connecting your store to an advertising platform is one of the most important technical steps for any eCommerce business. Without a working pixel, you cannot track conversions, optimize campaigns, or measure return on ad spend. This guide walks you through the full process of installing the TikTok Pixel on Shopify — from claiming available ad credits to confirming that your events are firing — all without writing a single line of code.
For a broader look at running paid campaigns once your pixel is live, see the guide on How To Run TikTok Ads for Shopify: A 2026 Guide.
Step 1: Claim Your TikTok Ads Credit Before You Start
Before touching Shopify, check whether TikTok is running an advertiser promotion. At the time this tutorial was recorded, TikTok was offering up to $1,000 USD in ad credits for new accounts that spend $1,500 USD within the first 30 days.
There is one critical condition: you must create your TikTok Ads account directly through TikTok's official portal, not from inside Shopify. The promotion terms explicitly exclude accounts created via TikTok Shop and third-party partners — and Shopify is listed as one of those excluded partners. If you start the account from within the Shopify app, you will not qualify for the credit.
The correct sequence is:
- Visit the TikTok Ads promotion link and read the terms and conditions.
- Sign up for a new TikTok Ads account using your email and password directly on the TikTok platform.
- Enter your company information to complete registration.
- Only then return to Shopify to connect the app.
If you are already running ads and this credit does not apply to your situation, you can skip this step and proceed directly to the app installation.
Step 2: Install the Official TikTok App on Shopify
Once your TikTok Ads account is ready, go to your Shopify Admin panel and open the App Store.
- Search for TikTok in the App Store search bar.
- Locate the official app developed by TikTok Inc. — you can confirm it is the right one by checking the developer name and reviewing its ratings.
- Click Install and follow the on-screen prompts.
- When the app loads, click Continue Setup rather than going through the optional startup guide.
The app handles all pixel code injection automatically. There is nothing to paste into your theme files.
Step 3: Connect Your TikTok Business Account
After the app installs, you will be prompted to connect your TikTok Business account.
- Click Connect next to your business account name.
- Confirm the connection — you may need to click Connect a second time to authorize the link.
- The app will then ask you to connect your TikTok Ads account in the same flow.
If you have already set up your TikTok Ads account as described in Step 1, it should appear automatically in this list. If you need a detailed walkthrough of creating that account first, the How to Create a TikTok Ads Account step-by-step guide covers that process.
Step 4: Configure Data Sharing Settings
This is one of the most important decisions in the setup. After connecting your business account, the app asks you to select a data sharing level. This controls how much customer information your pixel sends back to TikTok's ad platform.
| Data Sharing Level | Recommended For | Key Consideration |
|---|---|---|
| Standard | Merchants in the EU | Lower data volume; easier to align with GDPR requirements |
| Enhanced | Non-EU merchants | More data shared; review privacy policy requirements |
| Maximum | Global / Non-EU brands | Highest data volume; requires clear privacy policy disclosure |
If you operate in the European Union, the safer choice is Standard, as higher sharing levels may conflict with GDPR obligations. The tutorial notes explicitly that this is not legal advice — consult a lawyer if you are unsure which level applies to your situation. Regardless of which level you choose, your store's privacy policy should accurately describe how you collect and use customer data.
Once you have selected a level, click Confirm, fill in any missing company information if prompted, and click Finish Setup.

Step 5: Wait for the Connection to Activate
After finishing setup, the integration enters a pending state. The TikTok Business Manager can take up to 24 hours to fully recognize and display the pixel. This is normal — you do not need to reinstall or reconnect anything during this window.
While you wait, you can move on to verifying that the pixel is firing correctly on your storefront.
Step 6: Verify the Pixel with TikTok Pixel Helper
The fastest way to confirm your pixel is working is to install the TikTok Pixel Helper Chrome extension.
- Search for "TikTok Pixel Helper" on Google Chrome or in the Chrome Web Store and add it to your browser.
- Navigate to your live Shopify storefront.
- Click the Pixel Helper icon in your Chrome toolbar.
- Look for Page View and View Content events in the extension's output — if these appear, tracking is active.
You can also confirm events are firing inside TikTok Ads Manager:
- Open TikTok Ads Manager and go to the Events section.
- Select your pixel from the list.
- If events are registering, you will see them listed with timestamps and counts.
In the tutorial walkthrough, two Page View events had already been recorded shortly after the pixel was connected — confirming that the setup was working correctly within minutes of completing the installation.
Step 7: Set Your Campaign Goal to Sales Conversion
Once your pixel is verified and events are firing, you are ready to use it meaningfully in your campaigns. Inside TikTok Ads Manager, when creating or editing a campaign, set the optimization goal to Sales Conversions. This tells TikTok's algorithm to target users most likely to complete a purchase on your store.
Running campaigns without a conversion goal — or without a working pixel — means you are optimizing for clicks or impressions rather than actual sales. A correctly installed pixel is what makes conversion-focused advertising possible.
Recommendation
Installing the TikTok Pixel through the official Shopify app is straightforward and requires no technical knowledge. The most important thing to get right before you start is the account creation order: sign up for TikTok Ads directly on TikTok's platform first if you want to be eligible for any available credit promotions, then connect via Shopify. Once the pixel is verified and events are firing, switching your campaign goal to Sales Conversions is what turns the tracking setup into a practical tool for improving your ad results.
If you want to go deeper into building and managing TikTok campaigns after your pixel is live, the How To Run TikTok Ads for Shopify: A 2026 Guide covers the full campaign workflow. And if you are still setting up your TikTok Ads account, the How to Create a TikTok Ads Account step-by-step guide walks through that process in detail.
● FAQ