Follow this step-by-step Wise account setup guide to register, verify your identity, add currency balances, and prepare to send or receive money.
Getting Started With a Wise Account
If you want to send, hold, convert, or receive money in multiple currencies, opening a Wise account is a straightforward place to start. In the video walkthrough behind this article, Julian goes through the personal account signup flow step by step, from registration to adding currency balances and starting identity verification.
If you want to follow along on Wise itself, you can open a Wise account here. This guide sticks closely to what is actually shown in the video, so you know what to expect before you begin.
What the Video Demonstrates
The walkthrough covers a personal Wise account, not a business account. Julian signs up by email, confirms the email address, selects a personal account, enters phone and address details, and then explores two common next steps:
- Starting an international transfer
- Adding currency balances and unlocking account details
The video also shows that Wise presents some capabilities and restrictions during signup.
| During signup, Wise shows you can... | The video also shows these limits on a personal account |
|---|---|
| Send money abroad | Not use it to send money to cryptocurrency |
| Hold and convert money | Not run a business from a personal account |
| Spend abroad with a Wise card | Not use it for gambling |
| Receive money | |
| Earn interest |
That makes the onboarding fairly transparent: you see both the main benefits and some clear boundaries before you finish setup.
Step 1: Register Your Account
Start on the Wise website and click Register or Get started. In the video, Wise offers several signup options:
- Apple
- Email address
Julian uses the email route in the walkthrough. After entering the email address and clicking Next, Wise sends a confirmation email. You need to open that email and click the confirmation link before continuing.
Why this step matters
This is the first security checkpoint in the process. Until your email is confirmed, you will not be able to move through the full setup flow.
Step 2: Choose Personal or Business
After confirming your email, Wise asks what kind of account you want to open. In the demo, Julian selects Personal account.
That matters because Wise immediately frames what the account is for. A personal account is positioned around everyday cross-border money use, such as holding currencies, receiving money, sending transfers, and spending abroad.
If you specifically need company payments, invoicing, or business administration, a personal account is not the right setup. For broader context on the platform itself, see this Wise review for international money transfers.
Step 3: Select Where You Live
Next, Wise asks where you live most of the time. In the example shown on screen, the selection is:
- Country: United States
- State: California
After that, Wise gives a short summary of what you can do with the account. In the video, this includes sending money abroad in over 29 currencies, holding and converting money, spending abroad with the Wise card, receiving money, and earning interest.
A little later in the dashboard walkthrough, Julian also shows that you can add up to 40 currencies as balances inside the account. So the video distinguishes between transfer routes and available balances rather than treating them as exactly the same number.
Step 4: Verify Your Phone Number and Create a Password
The next step is phone verification. Enter your mobile number, request the code, and then type the code into Wise to confirm it.
Once that is done, create your password. In the walkthrough, Wise also presents an email updates preference before moving on to the personal details section.
Step 5: Enter Your Personal Details
After the login basics are finished, Wise asks for your identity details. In the video, Julian fills in:
- Legal name
- Address
- Other standard personal information required on screen
This part is routine, but it is important to enter everything exactly as it appears on your documents. Later identity checks are tied to the details you provide here.
Step 6: Choose What You Want To Do First
Once the core account is created, Wise asks what you would like to do first. The video shows two paths:
- Send money
- Spend and receive money
Julian first clicks Send money to show how the transfer flow looks.
The sample transfer shown in the video
In the example, he starts a transfer from US dollars to euros and enters $1,000. At that moment, Wise shows the recipient would get €924.
He then shows the funding options, including connecting a bank account, using a debit card, or using a wire transfer. In the walkthrough, he specifically notes that connecting your bank account gives you the lowest fees.
From there, Wise lets you add a recipient in several ways:
- Find a person on Wise
- Enter bank details manually
- Upload a PDF such as an invoice
For the manual bank route, the example shown is a European recipient with details such as:
- IBAN
- Country
- City
- Address
After entering the recipient information, Wise moves to a review screen before payment. Julian stops there and exits instead of completing the transfer, so the video does not show a finished payment.
| Transfer step shown | What happens in the walkthrough |
|---|---|
| Choose currencies | USD to EUR |
| Enter amount | $1,000 |
| See estimate | €924 shown in the example |
| Choose funding method | Bank connection, debit card, wire transfer |
| Add recipient | Wise contact, bank details, or PDF invoice |
| Review | Final review screen before payment |

Step 7: Add Currency Balances
After leaving the transfer flow, the video moves into the Wise dashboard. This is where the multicurrency side of the account becomes more practical.
Julian clicks Add currency to account and opens:
- A US dollar balance
- A euro balance
Once those are created, he explains that you can receive money into them. He then clicks into a balance and selects Get account details to continue setup.
Step 8: Verify Your Identity To Unlock Account Details
This is one of the most useful parts of the video because it shows a real limitation new users should expect. In the walkthrough, Wise does not immediately reveal the account details for receiving money.
Before that, Wise asks for two things:
- A deposit
- Identity verification
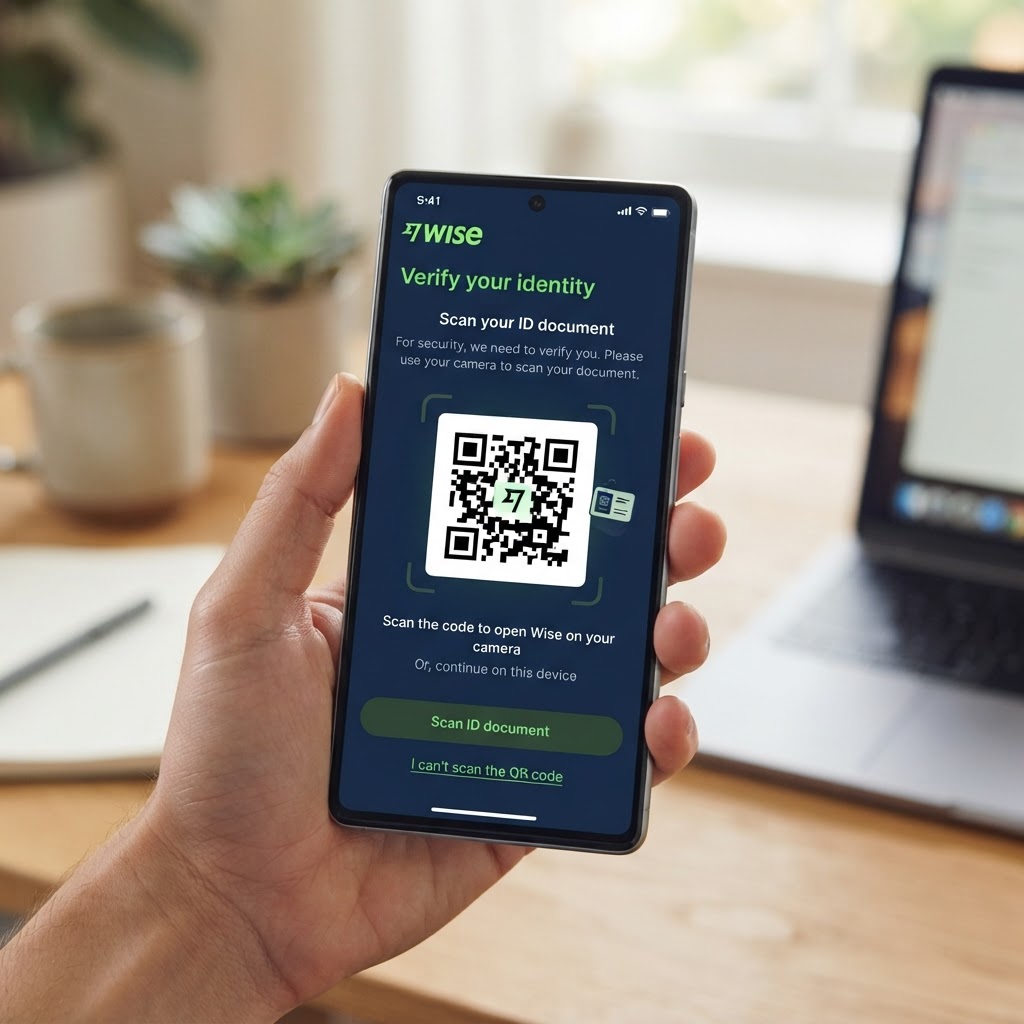
In the example on screen, Wise suggests transferring €20, though Julian notes you can switch the displayed currency. After that, Wise shows a QR code that you scan with your phone.
The phone flow shown in the video is:
- Scan the QR code
- Scan your ID
- Take a picture of yourself
Once Wise verifies that you are the account holder, you can continue funding the balances and using features like receiving money into your USD or EUR balance.
What Julian Actually Tested in the Walkthrough
To keep this tutorial accurate, here is the part that was clearly demonstrated on screen:
- Signed up through the Wise website
- Confirmed the email address
- Chose a personal account
- Selected United States / California as the example residence
- Verified a phone number by code
- Entered personal details and address
- Started, but did not complete, a $1,000 USD to EUR transfer example
- Added USD and EUR balances in the dashboard
- Clicked Get account details and reached the deposit and ID verification requirement
- Compared Wise's displayed USD/EUR exchange rate with Google at that moment
That last point is worth noting carefully: in the video, Wise showed 1 USD = 0.9291 EUR, and Julian compared it to Google's 0.93 result to illustrate the close match at that time. Since exchange rates move constantly, treat that as an example, not a permanent rate.
What Wise Looks Best For
Based on the walkthrough, Wise is a strong fit if you want to:
- Send money internationally
- Hold multiple currency balances in one account
- Receive money after completing verification
- Spend internationally with a Wise card
- Convert between currencies with transparent exchange information
It looks less suitable if your main goal falls into categories Wise blocks for a personal account, such as crypto-related transfers, gambling, or running business activity through a personal profile.
If you run an online store or work with overseas customers, you may also find these guides useful alongside Wise:
Pros and Limitations Shown in the Video
Pros
- Signup flow is simple and clearly guided
- Multiple ways to register
- Wise explains permitted and restricted use cases during onboarding
- You can add multiple currency balances from the dashboard
- Transfer setup includes a review step before payment
- Bank connection is presented as the lowest-fee funding method
Limitations
- The video does not show a completed transfer from start to finish
- Receiving account details requires extra steps, including verification
- The walkthrough covers a personal account only
- Some features shown may depend on completing the deposit and identity check first
Final Recommendation
If your main goal is international money management, this Wise setup process looks clear and beginner-friendly. The strongest parts of the walkthrough are the simple registration flow, the ability to add USD and EUR balances quickly, and the transparent transfer setup before payment.
The main thing to remember is that some useful features, including receiving account details, are not fully unlocked until you complete the deposit and identity verification steps. If that fits your needs, Wise looks like a practical option for sending, holding, converting, and receiving money across currencies.
If you want to get started, use the same signup page shown in the walkthrough: Try Wise here.
● FAQ